Do you hate cardio? The Herbalife 24 Fit camp offered at Suite Leaf every Tuesday uses strength training to make your body stronger. AnnMarie Banasik tells us about some of the exercises and about the class instructor.

Do you hate cardio? The Herbalife 24 Fit camp offered at Suite Leaf every Tuesday uses strength training to make your body stronger. AnnMarie Banasik tells us about some of the exercises and about the class instructor.
Today I am going to review some important tips I have learned about videography.
First, I would like to review the five shot sequence (mostly for my benefit), which is one of the most IMPORTANT things to be conscious of when filming.
Shot 1: Extreme Close Up (i.e. hands on football)
Shot 2: Close up (i.e headshot of football player with helmet)
Shot 3: Medium Shot (i.e catching ball)
Shot 4: Over-shoulder view (i.e POV of receiver being thrown too)
Shot 5: Different angel (low-wide of the receiver running)
It is also important to note that these can be placed in a different order, but it is important to include all of them in some shape or form. My professor taught us the “visual cha cha” to help remember each of these. What is the visual cha cha, you ask? Well, he made us stand up and literally do the cha cha: wide shot, med shot, tight (cha), tight (cha), tight (cha).
We also learned about different types of sequences. After reading this you will never be able to watch TV the same. Well, at least I can’t because all I notice are the different sequences used or how shots change from one to another. The four basic sequences are:
Action-Reaction: Camera focuses on something, shot changes to the reaction of that something
Action-Cutaway-Action: Camera focuses on an action, shot changes to someone else, shot changes back to the action.
Match-On-Action: Camera films an action, shot changes to the same actions but from a different angle.
Montage: A series of related clips that are both together into a sequence to give the viewer a general impression of the story details.
When filming, some general tips to remember are:
-hold each shot for a minimum of 10 seconds
-don’t move the camera without motivation (following someone)
-only use pans to show environment, but try not to use them
-shoot from variety of depths
-white balance every time you change light conditions
-be conscious of your subjects positioning
Eventually, I will be putting all of these tips and skills sets in action soon!
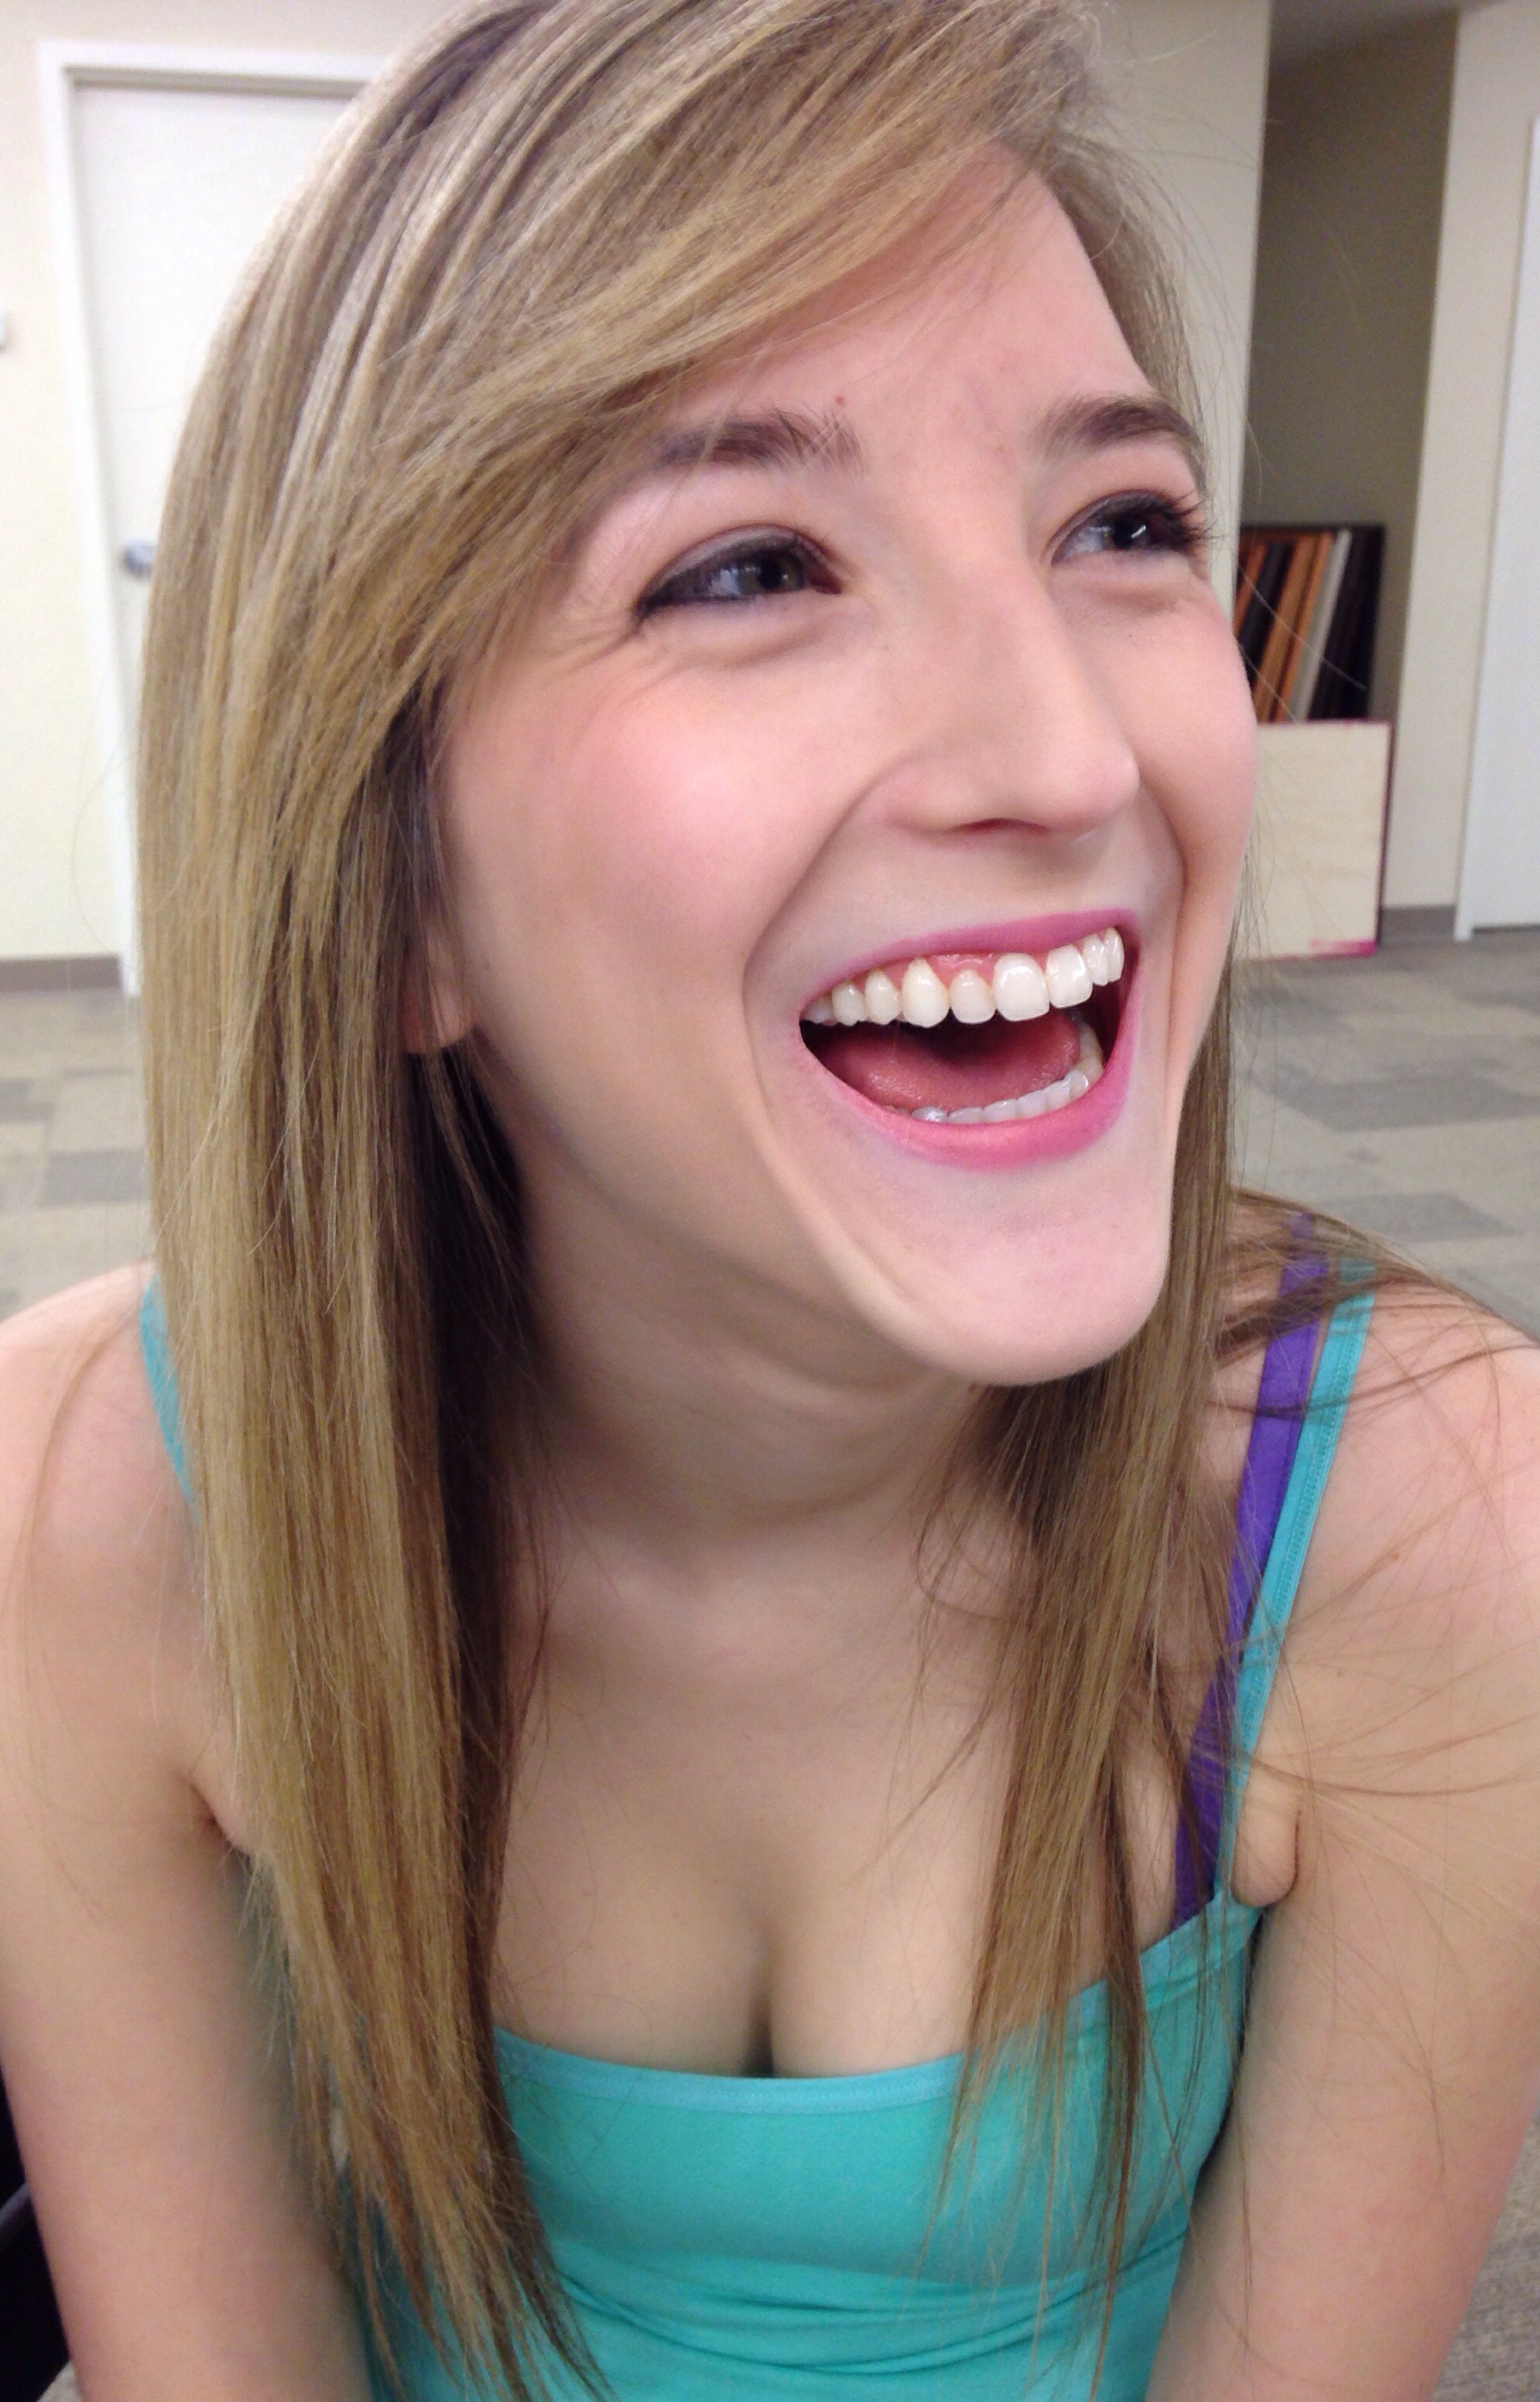
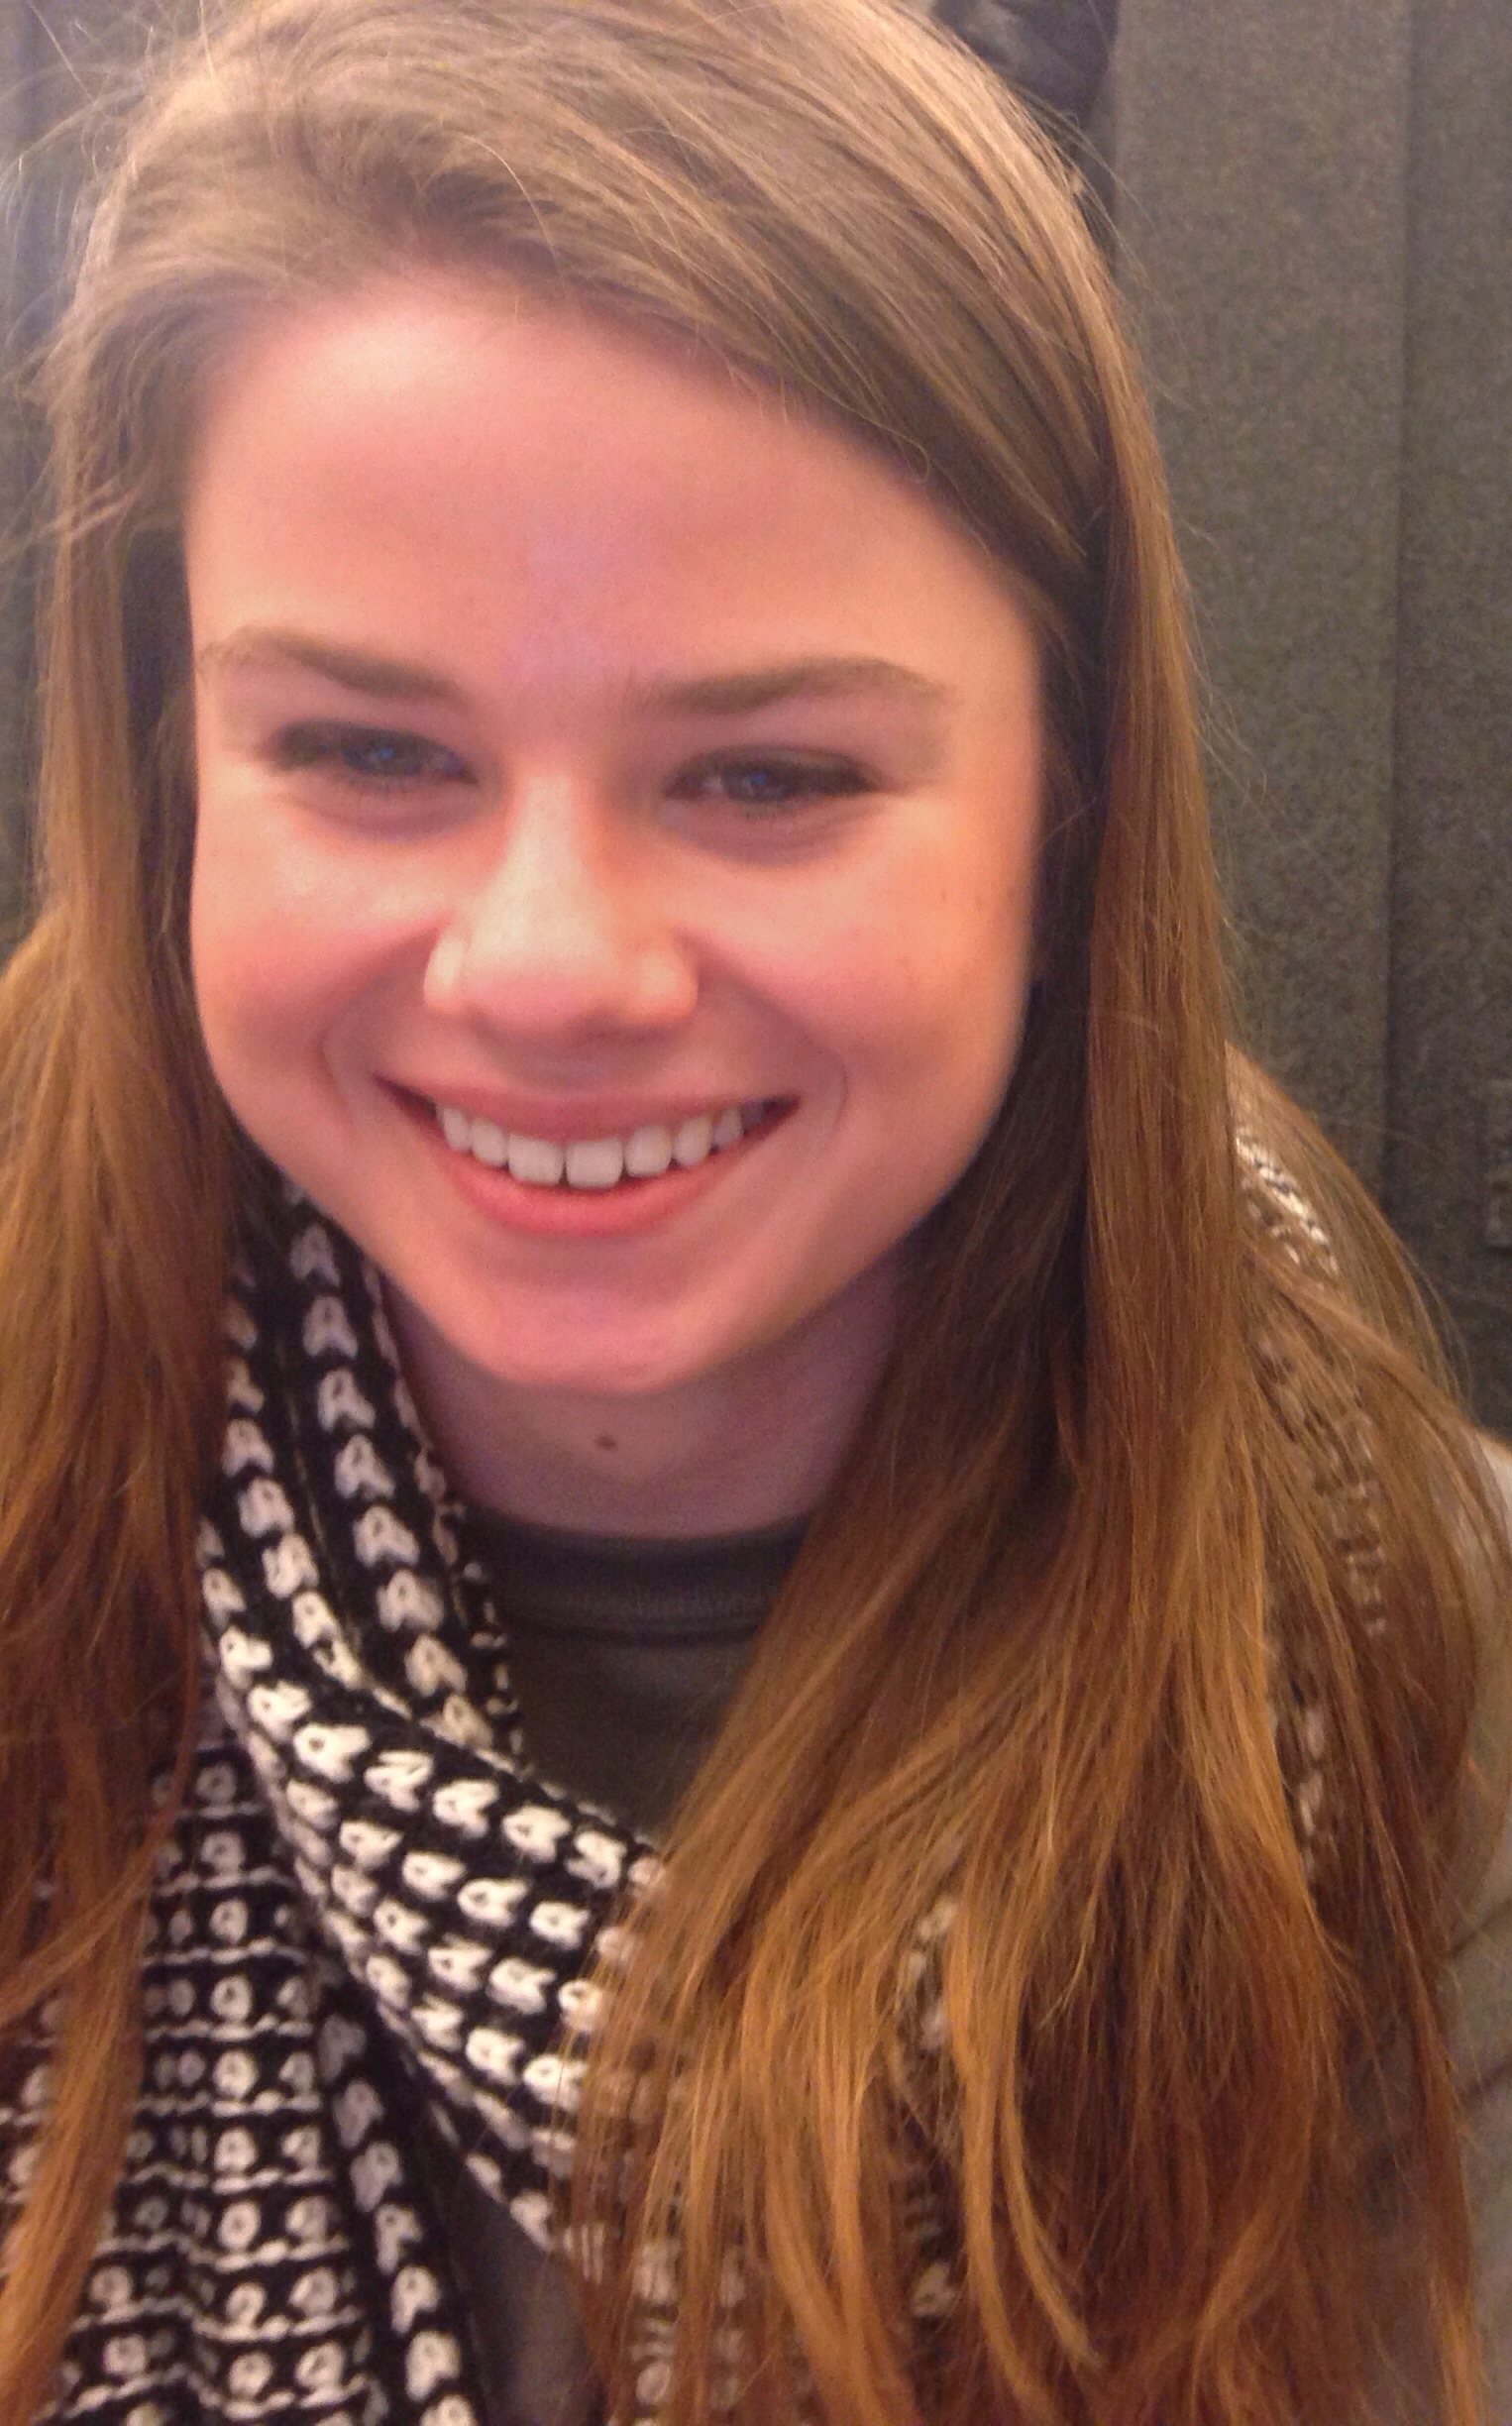
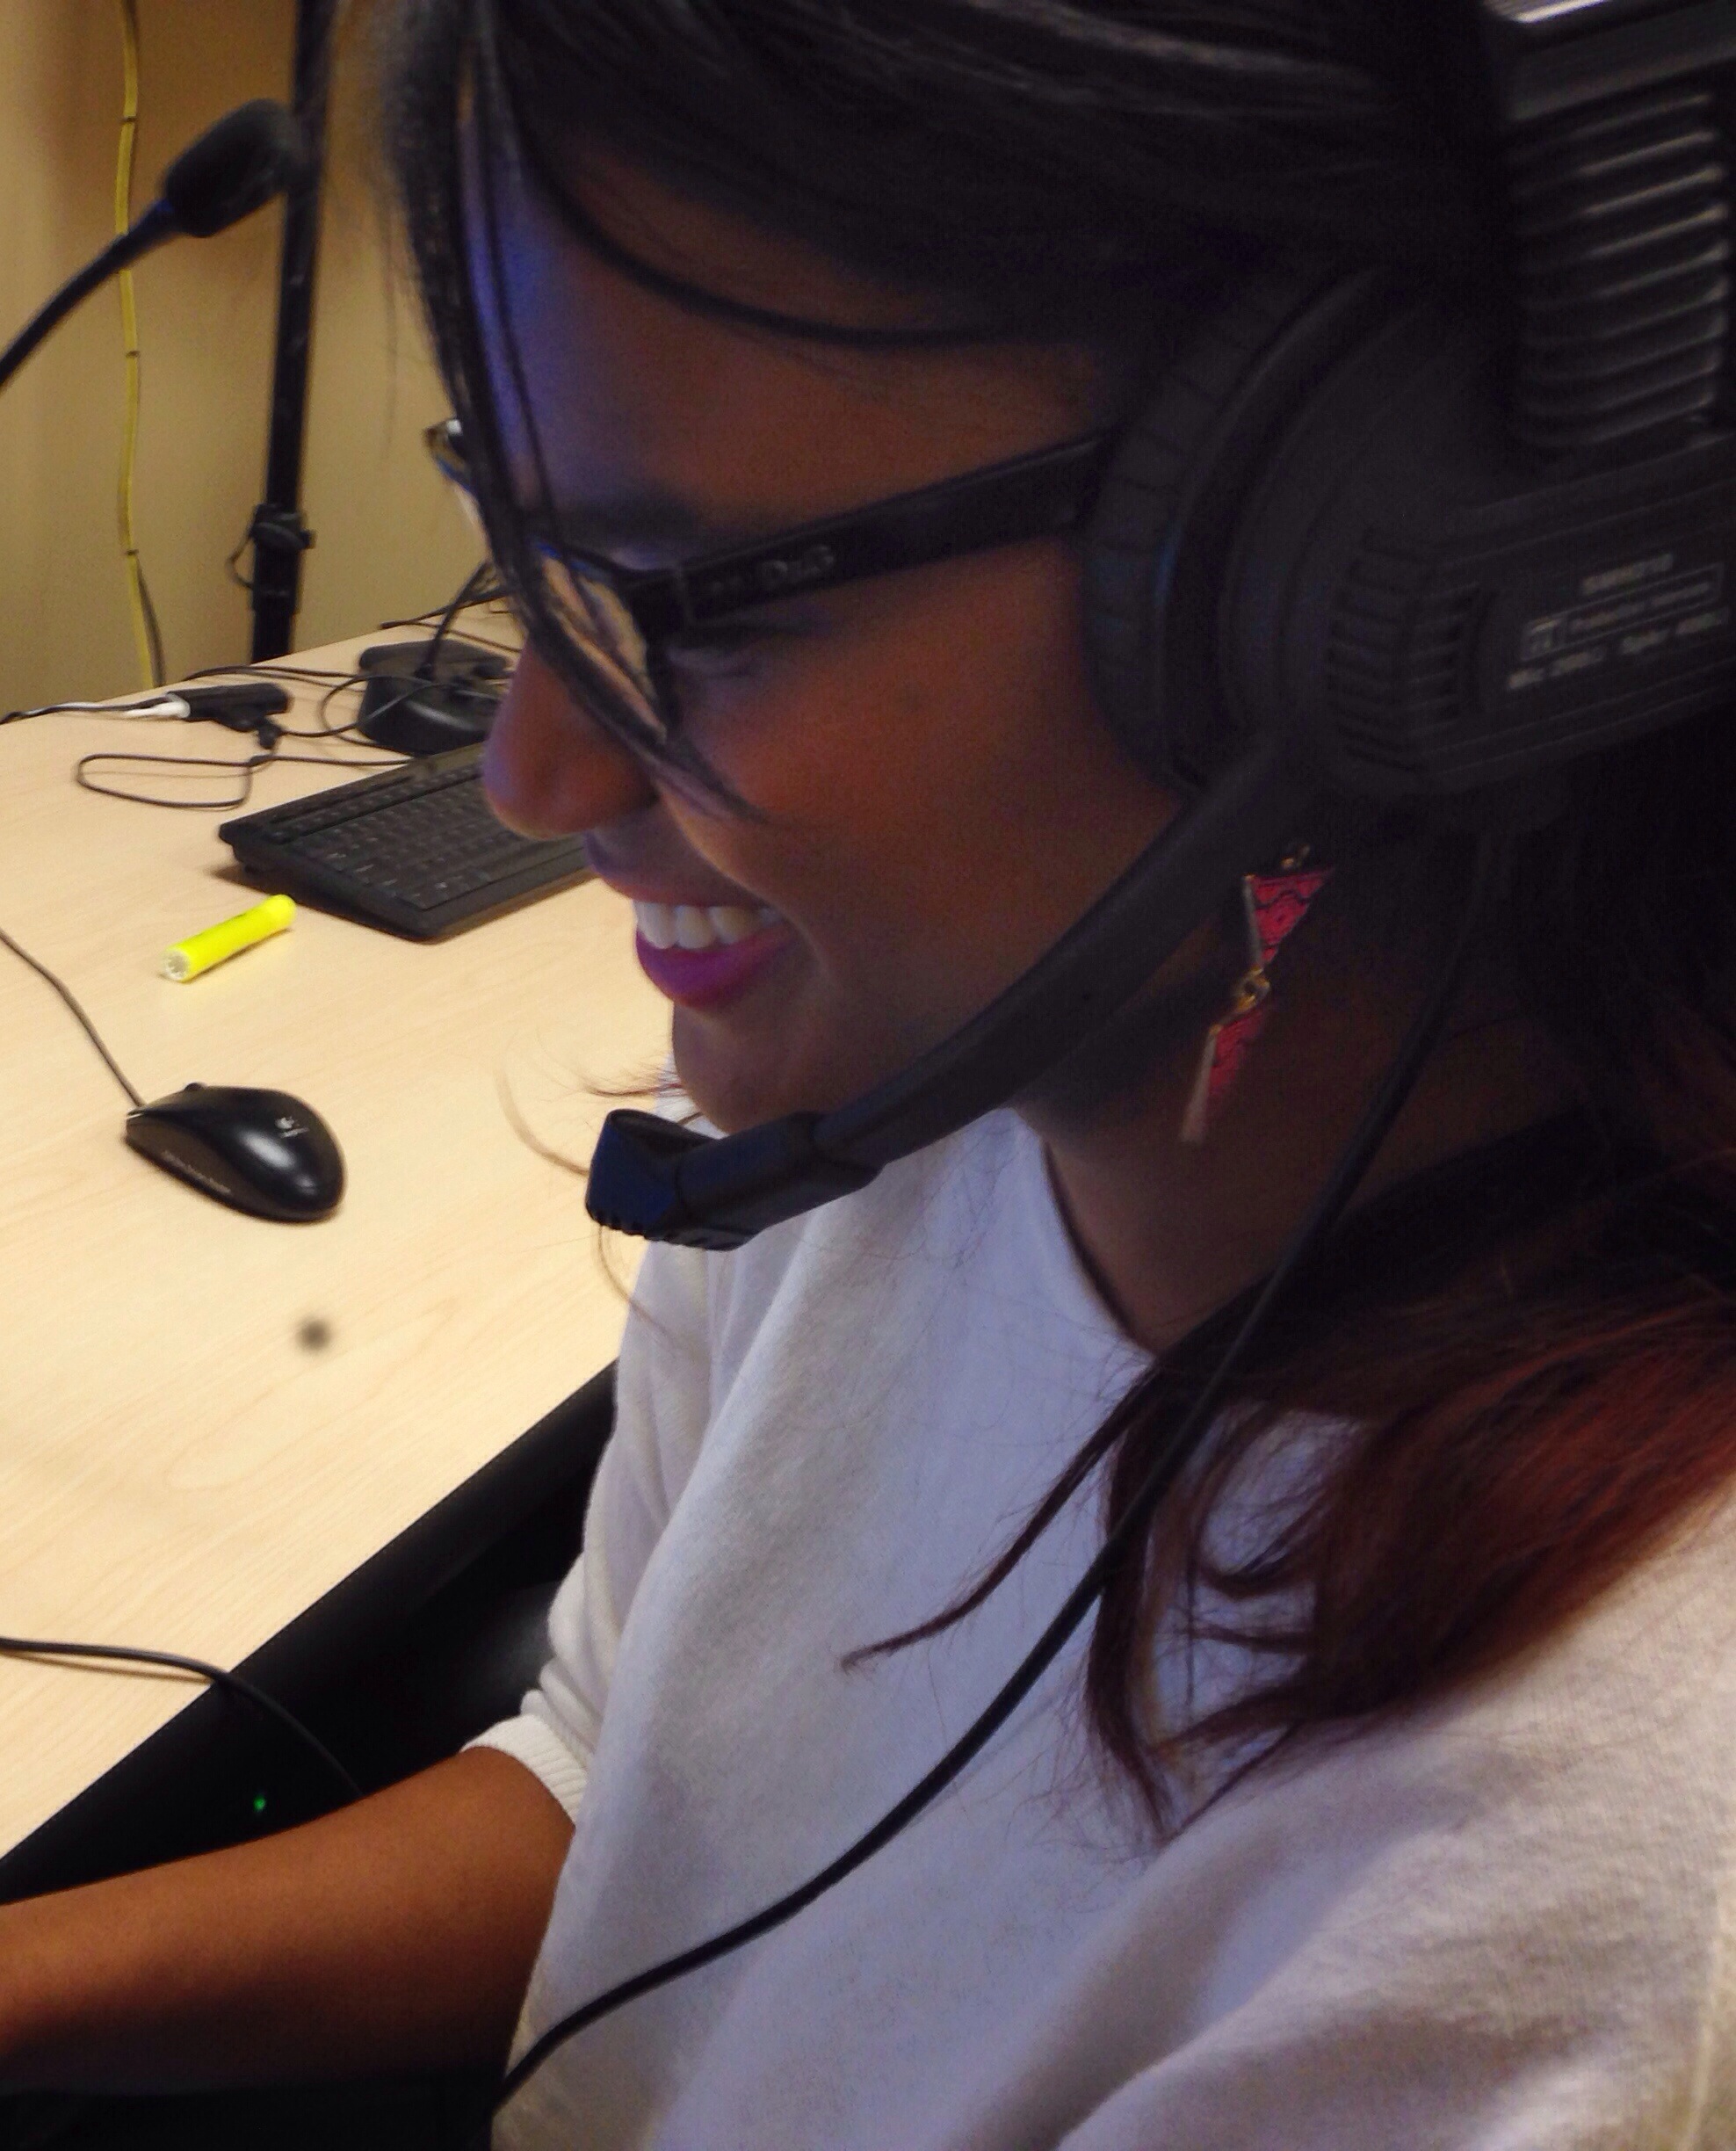
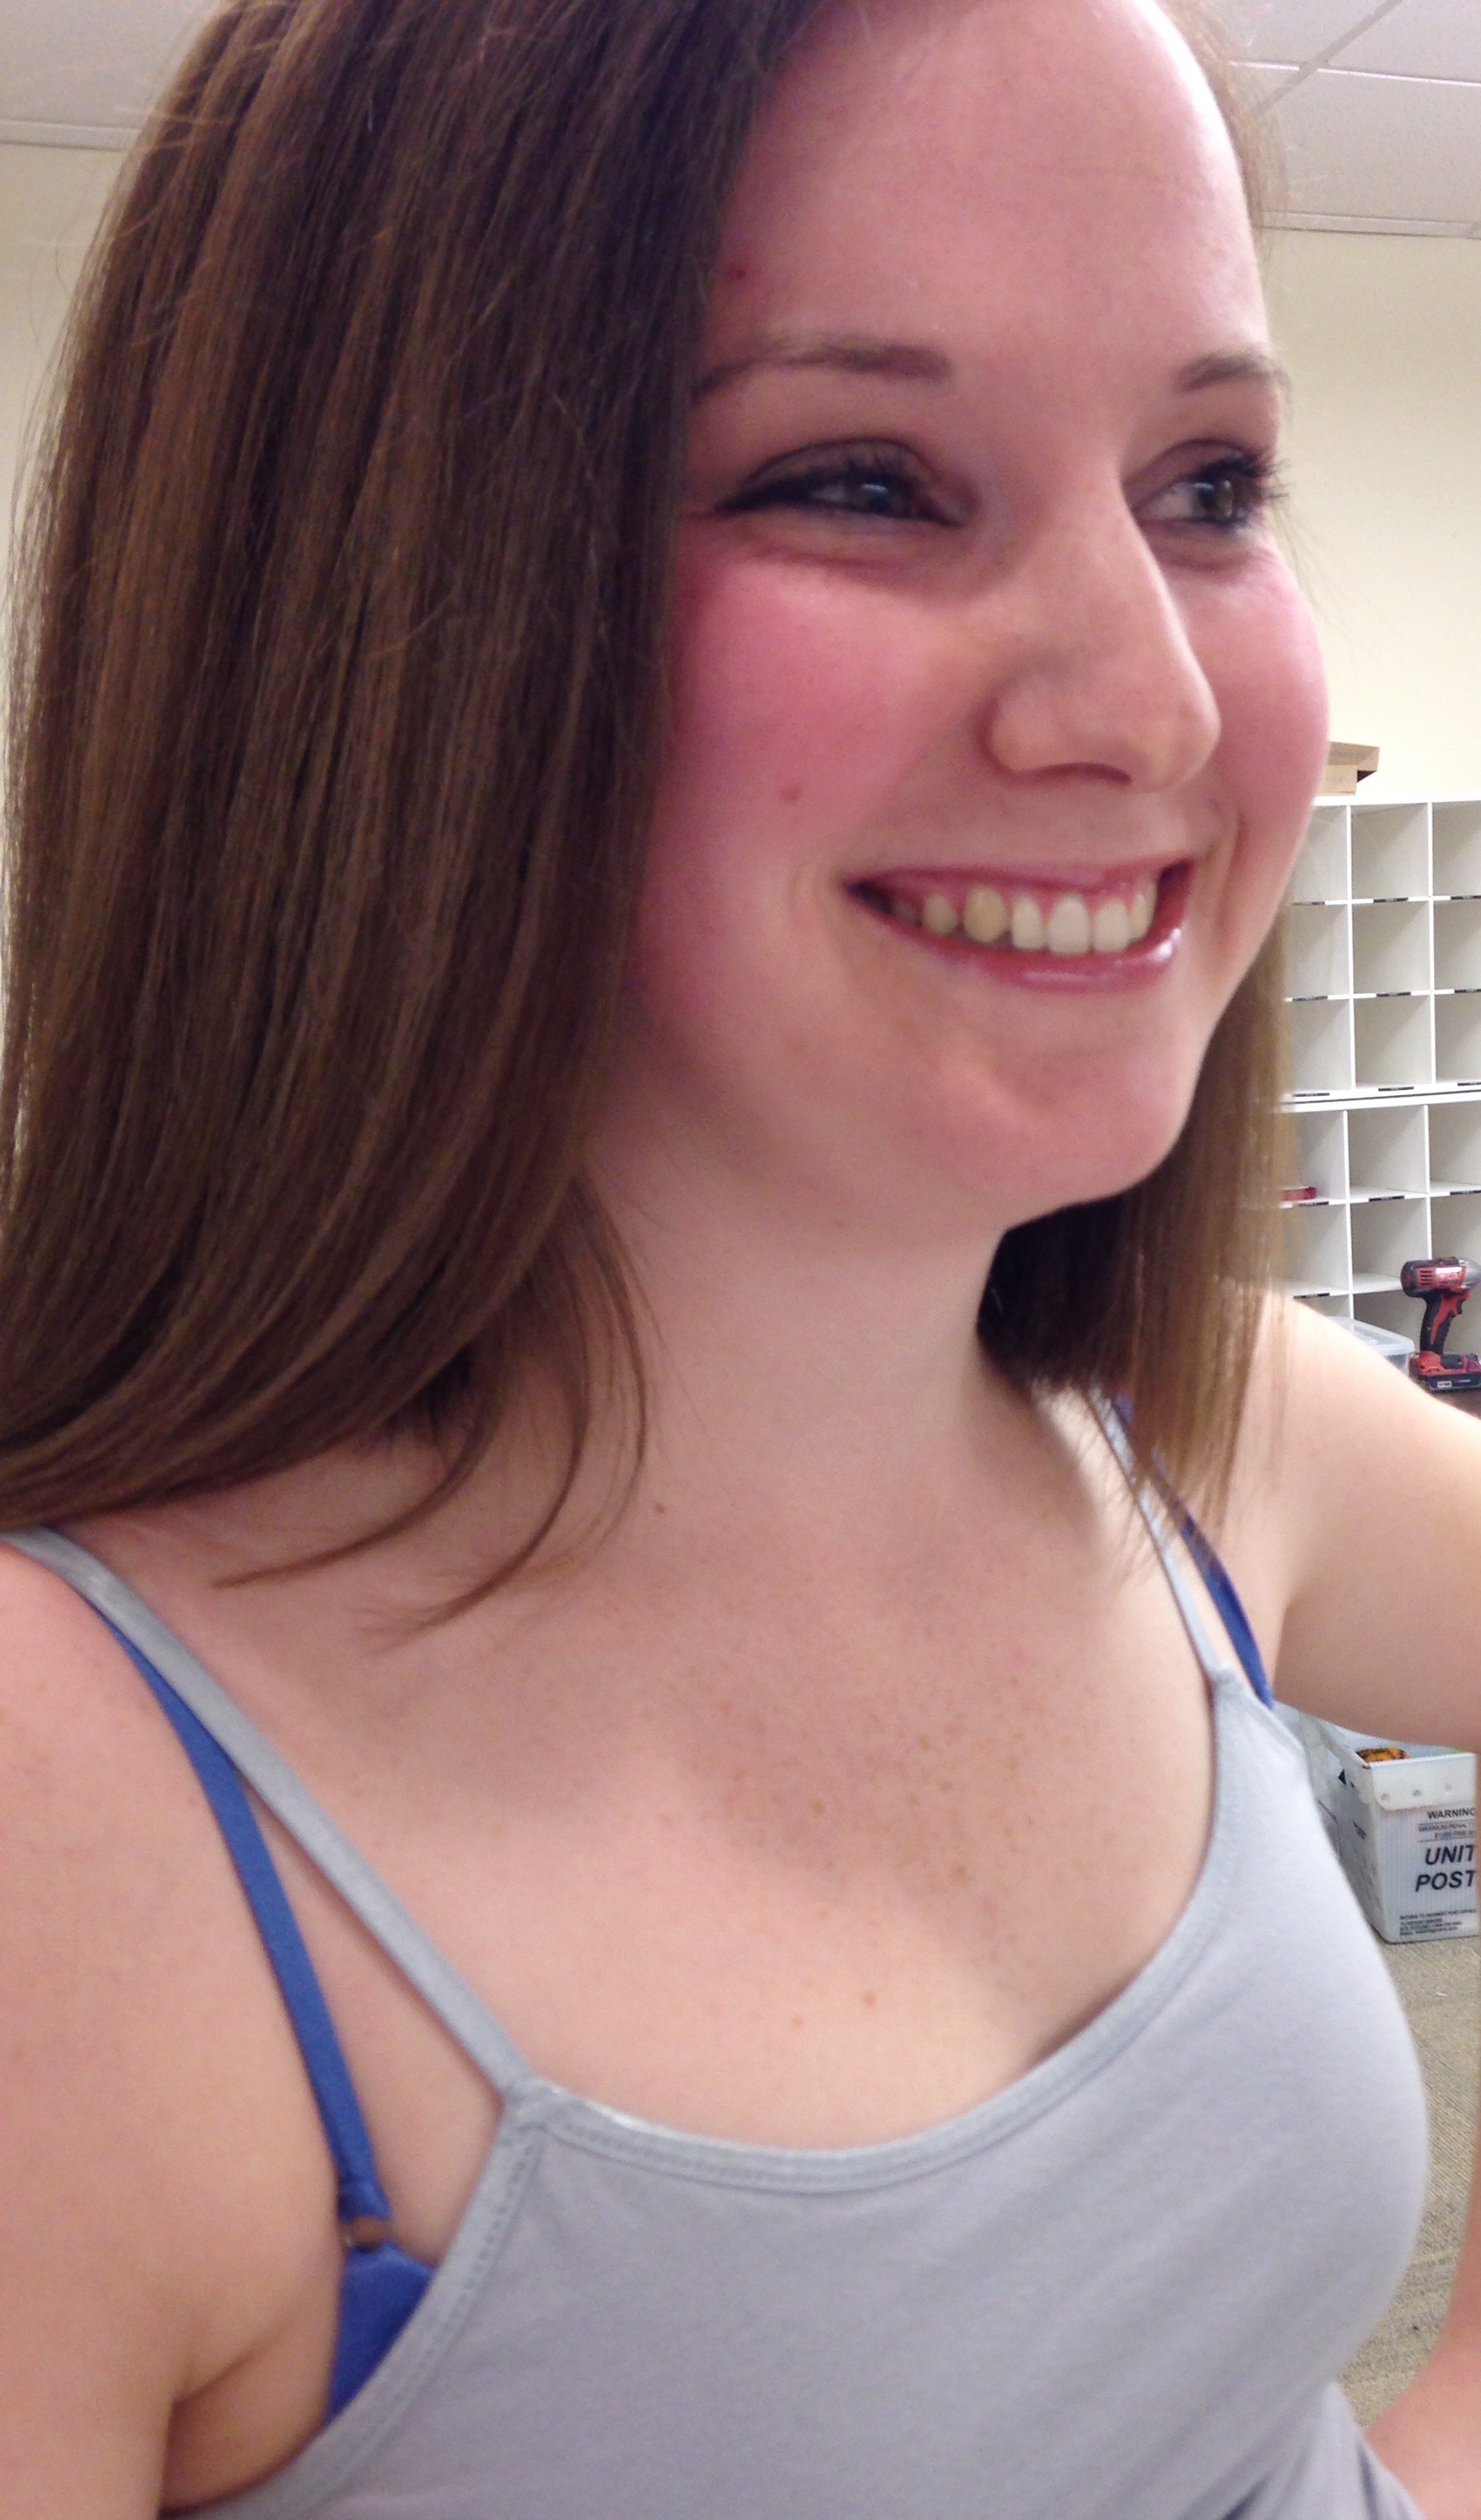
Apparently my class and I have a tight shot phobia, meaning that we are afraid to take tight shots. So to make up those lost points we had to take five photos, each of a different person. In each photo the person’s head and shoulders had to take up 50 percent of the frame. So here they are:


Today I am going to address the benefits of owning my own iPad in regards to my multimedia class verses having to check one out. Students who have to check out iPads only get them for 24 hours unless they request extended permission. Therefore, these students have to set aside a large amount of time in their busy busy schedules to do all parts of their project in 24, maybe 48, hours. That includes doing interviews, gathering sound, taking pictures, maybe some video, then turning around and editing on the same device and exporting it and finally uploading it to our blogs. It’s a lot of work and its very time consuming.
Because I own an iPad, I have a small advantage over these students. Unlike the other multimedia classes, after we gather everything on our iPad we can’t dump our work off on our computers and edit it a different day. Given that we have a week to work on these, but only 24 hours with the equipment, it almost creates a deadline within a deadline. If you have a big test to study for the next day and a couple busy days to follow, but your interviewee is only available the day before your test, you have to figure out how to get your assignment done despite your own hectic schedule. I personally think that takes away from producing quality assignments. However, with journalism time can be your friend and it can also be your enemy. I guess you could say it is preparation for the real world. Unfortunately though for the students who have to check out their iPads, when they return them, their work is removed for the next student who uses it.
For me, I went and gathered my pictures Tuesday, I did my interview Thursday, and I edited it and uploaded it Friday. I took the entire week to my benefit. I also used Nat sound that I gathered from the previous audio assignment, which I decided not to use for it. For students who have to check out their iPads, they couldn’t have done that. Granted, I still have to check out other accessories, such as mics, but it’s a lot more convenient to have an iPad, because I can work on my assignment when I have the time and I can also be more flexible with my sources schedules. All in all, props to the students checking them out because I don’t know how you’re doing it!
Healthy Smoothies With a Fun Kick
Funfetti cake is healthy. Suite Leaf Nutrition promotes these meal replacement smoothies packed full of protein and nutrients that keep you feeling full. Crystalyn Wyatt tells more about these flavorful smoothies and how they make it easy for their customers to make them at home.
Up next you ask? Audio Slideshows!
An audio slideshow is a simple form of multimedia storytelling. Further, it offers a symbiotic relationship between audio and photos. Instead of using video, an audio slideshow uses multiple photos to help convey an audio message. This is where visual referencing comes in to play. Your photos have to agree, or match up, with what you are hearing for your audio slideshow to make sense to the viewer. Photos should stay on the screen for roughly five seconds each. Your photos should also include a variety of different shots, such as wide shots, tight shots, and a portrait if it is relevant.
For this assignment we are still using Voddio. Oh the joy of Voddio. There are a few downfalls to this app that I would like to mention: 1) it likes to crash & 2) it doesn’t allow you to move your tracks around easily.
Other than that, the app is fairly user friendly. It takes a lot of tedious work, but no matter what program or app you choose to create an audio clip, or audio slideshow, it will be time consuming and monotonous. Also, despite crashing, the app has not lost any of my work (knock on wood). Here is a tip: if you want to speed up the editing process take some extra time to plan how you want to lay out your story before you bring your files into your project.
All in all, using mobile devices sure beats caring around big, bulky camera bags and recording devices. Maybe I am bias towards Apple, but I will take these limitations for the easy accessibility!
Stay tuned for my audio slideshow to be posted soon.
Anchor Intro Script:
Herbalife offers FREE fit camps. Yes FREE. Classes take place every Tuesday at Suite Leaf Nutrition. I sat down with some coaches and participants who shared with me what fit camp is all about.
Audio Story:
First, I would like to start of by saying that a couple corporate Apple people are coming to sit in on my class, HOW COOL!!
Besides that, I am currently working on my audio story. This story will be 1:00-1:30 minutes long and will consist of an unnarrated interview with natural sound. I will post the final product to this blog when it’s completed.
I am currently working with the Herbalife 24Fit Challenge class for my assignment, which is a six-week progressive boot (fit) camp that includes 12 classes of physical training. It also includes extreme fitness challenges, a fitness evaluation, coaching, and a complete body transformation. This camp is free to the community and is offered by Suite Leaf Nutrition. The class is on Tuesdays at either 6 a.m. or 6 p.m.
For this assignment, our class is using an app called Voddio. We record within this app and are able to edit the clip there also. To get sound we use either a stick mic or a Mikey because these are both better than the native mic on the phone or iPad. I prefer the stick mic because it allows you to get directional sound.
Now I leave you with the 10 Commandments of Natural Sound:
Thanks Jenna Allison for letting me take pictures of you! Here is my attempt at iPhoneography. Enjoy!


My professor once said, “the best camera you have is the one in your hands.”
There are many pros and cons to using an iPhone to take pictures. In contrast to a DSLR camera, when using an iPhone, or any iOS platform, there are three things you cannot control. Those include: ISO (how much light can stay in the picture), Aperture (how much light goes through the hole), and Shutter Speed.
With these limitations, the iPhone does not take great action photos. It does, however, take awesome still life photography! Every photo of France that has been previously posted on my blog was taken with my iPhone.
When using iPhones you have to take light into consideration. Generally speaking, iPhones don’t work well in dark areas. One tip I found helpful was to shoot with light from the side because the iPhone sometimes processes shadows better than light.
Another tip I want to pass along is zoom with your feet, not your phone. When you use the zoom on your phone it simply makes your photo fuzzy and it isn’t very appealing to the eyes.
When taking award winning photography, composition is key. I like to follow the rule of thirds. If you look below at the picture I took this snowy afternoon you notice that the trees are not placed in the center of the photo. If that were the case, it might be pretty boring to look at. Instead, using the rule of thirds, I placed the trees in the outer edges of the frame. I also used the concept of layers, or idea of rows. Each tree makes up a different layer giving a sense of depth and the final layer consists of the houses and the snow covered street. Notice as you look at the photo your eye bounces between the layers. The street also acts as a leading line and directs your eyes to the snowy overcast. It makes the photo more captivating because it’s almost interactive. It gives your eyes somewhere to go, rather than being static looking at a subject that is stationed in the middle of the frame.

I like to use camera+ because with this app you can pull up grid lines on your phone to help with the composition, especially for amateur photographers, like myself. Stay tuned for my “Seeing Red” themed photos to be posted soon!
Sincerely,
Snowed-in.
